

THE LIVING ROOM IS PAINTED. It is DONE. I know…. you’re as relieved as I am after all the complaining I’ve done on social media. Sorry about that.
This post is here to counteract all the DIY home improvement blog posts about how painting is so quick and easy and “we got it knocked out during naptime” because NOPE. Not in an old house.
As I mentioned before, these walls are bare, never painted plaster that were wallpapered so long ago it was before the days of pre-pasted paper. So. They were kind of a mess. And since our living room has a wood-burning fireplace that has been used the walls had some soot and years of dirt/grime on them. You can kind of see in the background of this picture how they looked mottled and patchy.
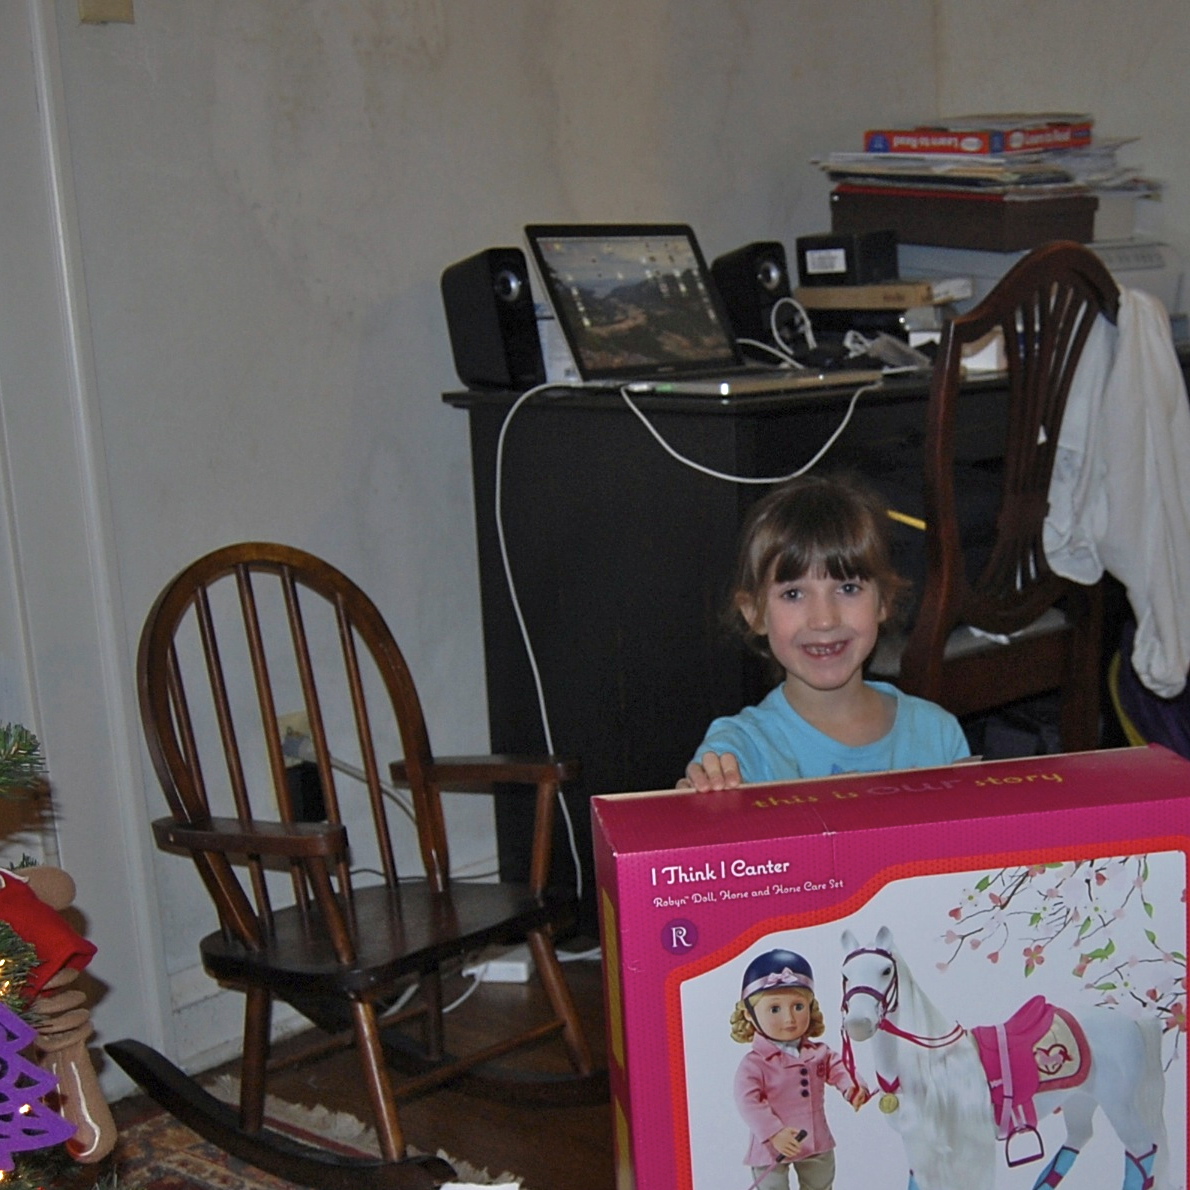
With family Christmas happening in 2 weeks at our house, I was determined not to have those walls as the backdrop in the photos. And, it’s not like we weren’t planning in this. We bought the paint at a major sale several months ago. All we needed was the motivation (see family visit comment above) and the time (ha!).
3 (4?)weeks ago I tackled scrubbing the stubborn remnants of wall paper glue off the entryway walls. I’m sure if you’ve ever removed wallpaper you’re scoffing at me because it’s not all that difficult. But this wasn’t modern paper. All of the wallpaper and backing was gone, leaving behind a sandpaper-like thin residue of decades old paste on the walls. This involved 13 ScotchBrite Heavy Duty Scour Pads (no, generics do not work as well – believe me we’ve tried them all), very hot water, vinegar and tons of elbow grease. Every inch had to be scoured hard, then wiped with a clean rag. The corners and edges near the trim was the worst. Our tiny entry way took me about 3.5 hours just to clean. We still had over 250 square feet of living room to tackle.

note how awful the baseboards are in the entry

prying off the plastic corner shields the previous owners had on all the corners. You can see what the wallpaper looked like here.
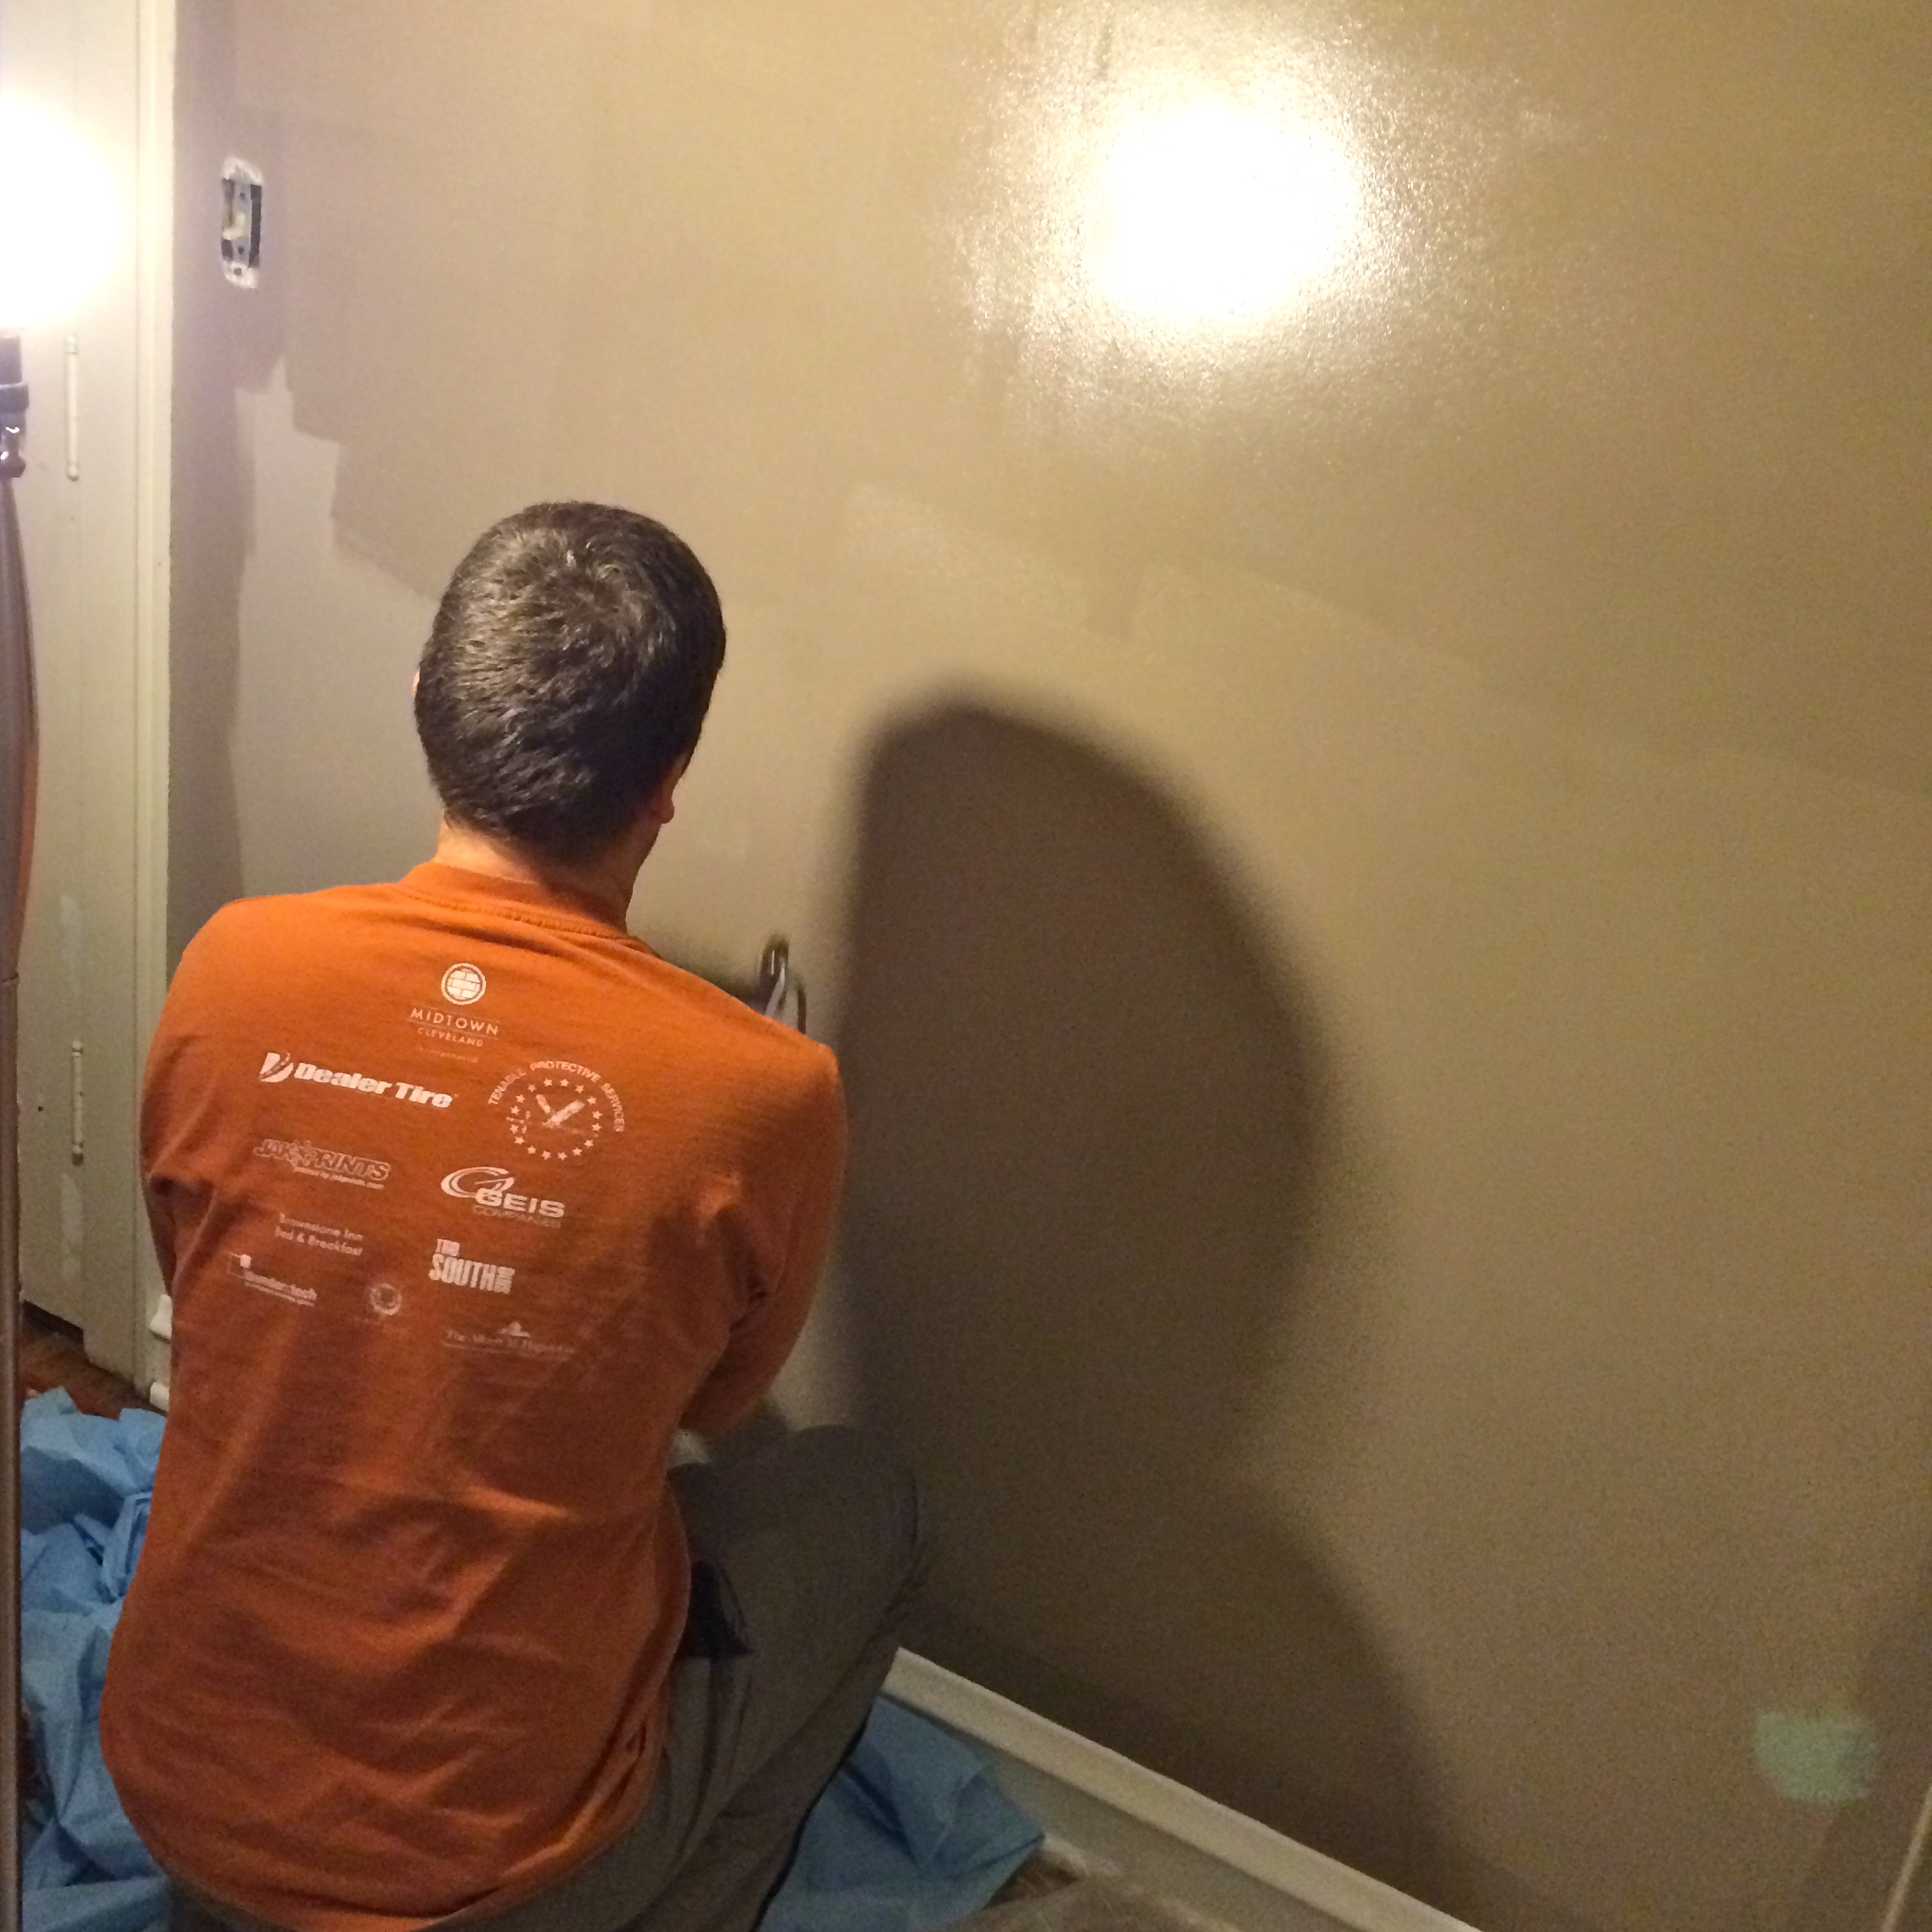
We hired Michelle’s daughter to play with the kids and keep them out of our way for 3 hours on a Saturday while Mark and I took on the living room. We got about 85% of it done, later figuring out that adding a bit of washing soda to the water helped loosen the glue. By the time we finished just scrubbing and cleaning the walls we had logged about 15 man hours of time already.
On to the paint! We decided early on that we wouldn’t even try to get the trim painted this go-round – with 3 windows with muntins, a bookcase and french doors there was just no time. That will have to wait until after Christmas. But, since we were priming anyway we decided to prime the baseboards and crown moulding along with the ceiling so they were at least uniformly white. We used a stain/odor blocking Sherwin Williams primer on everything. While we could be sloppy with most of the application, where the baseboard meets the hardwoods and the ceiling took forever. But, over the course of a weekend I managed to get everything primed and ready for the color.

child labor
Now, as I said we had the pain already. We had purchased 2 gallons of Spalding Gray for the living room and 2 gallons of Popular Gray for the adjoining landing and stairway. We had already pilfered some of the Spalding for the upstairs bathroom but we figured we had enough left to get us through the living room. But I panicked and decided we needed another gallon because the walls were soaking up the paint. I grabbed a gallon of paint from the shelf in the basement to take to the Sherwin-Williams store for shaking/mixing and while I was there asked them to mix another gallon for me. When I got home I panicked. The color I had taken and had another expensive gallon made was Popular Gray – the lighter color for the hallway. I freaked out on twitter when someone suggested I take the paint back and have it tinted to the darker color. Duh! I went back and they tinted it to Spalding Gray – BUT, of course that can’t be the end of it. Popular Gray is mixed into a bright white base. Spalding Gray is mixed into a deep base. So my new gallon was still a bit lighter than the other gallon and a half we had at home. So, we decided to use the lighter version as a first coat, hoping a top coat of the true Spalding Gray would work out.

Cutting in – the biggest time stuck ever.

You can see here the difference between the paint mixed into a bright white base and mixed in a deep base

This stubby brush? A new discovery for me and it became my best friend when cutting in.
We plugged along with the color, with me cutting in and Mark later doing the roller work. Another afternoon of hiring a babysitter to corral the kids, a few hours of the kids going feral while closed in upstairs, a couple of very late nights and FOUR COATS OF PAINT LATER (1 primer, 1 base color, 2 final color) the room is done. DONE DONE DONE. (well, at least until I decide to tackle painting all the trim).
And I love it.

someday I’ll post better, daylight photos

Christmas mantle 2012

MUCH better in 2013
*this title is likely a lie, but there is a reason painting projects only happen about once every 3 years around here. And sorry about the TSwift earworm.

That stubby brush is going to be your best friend in the world for painting trim. It’s very ergo with that silicone handle. Great job, though! If you have any more walls that are grubby like that, try washing them with TSP (trisodium phosphate) powder that you put in water. It’s useful for etching the finish off old paint to help the new stick better, and it will cut through all kinds of grime for a better seal.
Looking forward to seeing the final product. It was a major chore but is sure looks great in the photos.
Great job! I hate painting and I will never paint again…only hire others to do it for me 🙂